
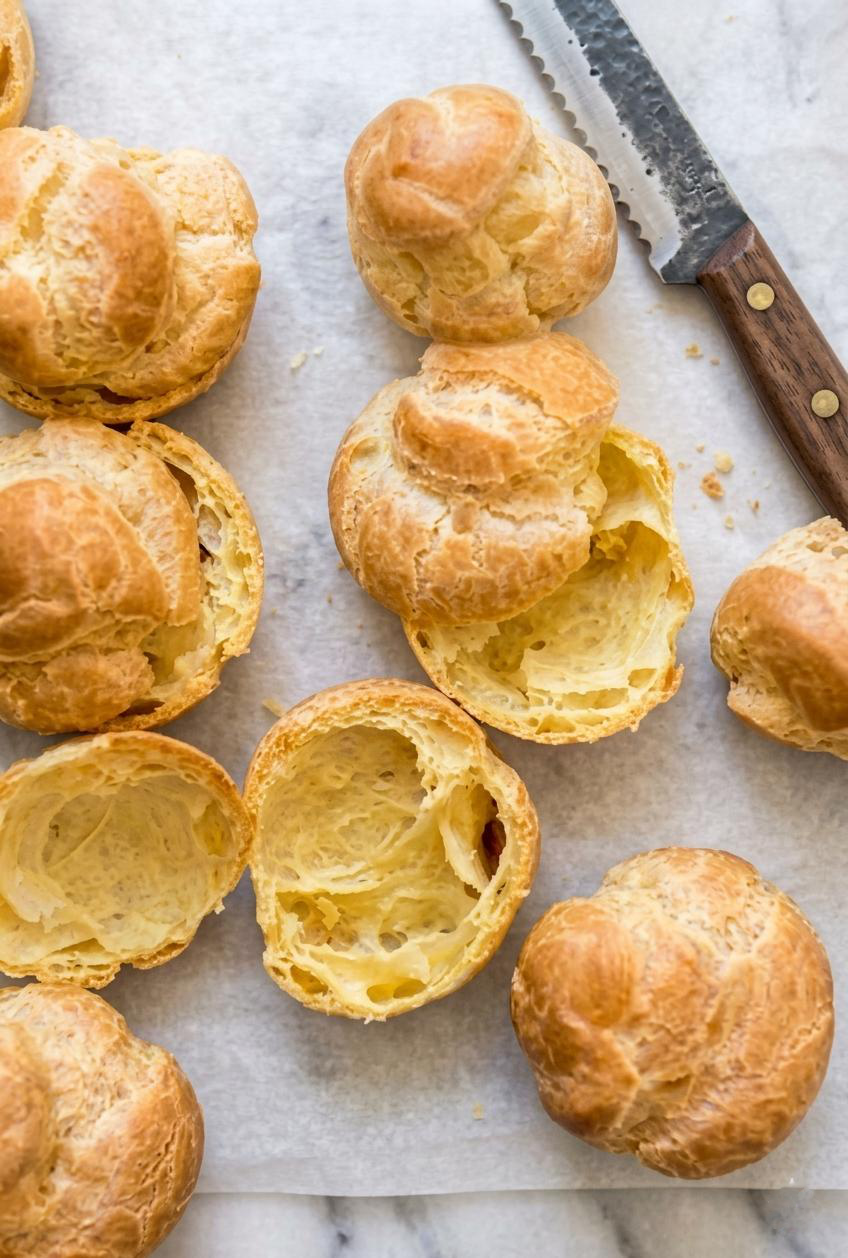
There are certain recipes that every passionate home baker should learn, and classic French pâte à choux is undoubtedly one of them. This remarkable pastry dough is the foundation of countless bakery favorites—from elegant éclairs and cream puffs to profiteroles and savory gougères—yet it’s made from just a handful of everyday ingredients.
What makes choux pastry so unique is that it relies entirely on steam for its rise. As the dough bakes, the moisture trapped inside expands, creating beautifully puffed shells with crisp golden exteriors and delicate hollow centers that are perfect for filling. There’s no baking powder, no yeast, and no complicated lamination—just simple ingredients transformed through proper technique.
If you’ve always admired French pastries behind the glass case of a bakery, learning to make pâte à choux at home is one of the most rewarding baking skills you can develop. Once you understand how the dough should look and feel, the process becomes surprisingly approachable, and you’ll find yourself using this recipe again and again for both casual family desserts and elegant entertaining.
Whether you’re planning to fill your shells with silky pastry cream, lightly sweetened whipped cream, rich chocolate mousse, or even savory fillings, this dependable recipe provides the perfect base every time. The dough bakes into shells that are crisp enough to hold their shape while remaining wonderfully light and airy inside.
If you’re building your confidence in classic baking, this recipe pairs beautifully with several Chef Basics guides on The Sofî Edit, including How to Measure Flour Correctly, Butter Temperature Guide, and How to Use a Piping Bag. Mastering these fundamental techniques will make every pastry recipe more consistent and enjoyable.
THE FRENCH PASTRY SKILL EVERY HOME BAKER SHOULD KNOW
Learning to make pâte à choux opens the door to an entire world of classic French pastries. Instead of mastering a different dough for every dessert, you’ll have one versatile recipe that becomes the starting point for cream puffs, éclairs, profiteroles, Paris-Brest, croquembouche, and many other bakery classics. It’s one of the highest-return techniques any home baker can learn.
This recipe has been carefully developed to produce consistently crisp, beautifully puffed shells with light interiors and excellent structure. Cooking the dough properly on the stovetop removes excess moisture, while gradually incorporating the eggs creates the smooth, glossy consistency necessary for maximum steam expansion during baking. The result is reliable pastry with a delicate texture that holds fillings without collapsing.
Another reason to love this recipe is its simplicity. Despite its elegant appearance, pâte à choux requires only six basic ingredients that many home bakers already have in their kitchens. Success comes from understanding technique rather than purchasing specialty products, making it an ideal recipe for anyone wanting to improve their baking skills.
Perhaps best of all, mastering pâte à choux gives you endless creative freedom. Fill the shells with vanilla pastry cream for classic éclairs, whipped cream and fresh berries for a light summer dessert, chocolate mousse for an elegant dinner party, or savory cheese fillings for sophisticated appetizers. Once this recipe becomes part of your repertoire, you’ll find yourself returning to it throughout the year for countless occasions.
Classic Choux Pastry
Ingredients
Equipment
Method
- Preheat the oven to 375°F (190°C). Line two baking sheets with parchment paper and set them aside. If you're planning to make éclairs, fit a pastry bag with a large round or French star tip before preparing the dough.
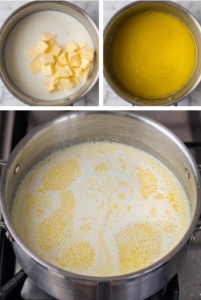
- In a medium saucepan, combine the water, butter, sugar, and salt. Bring the mixture to a full rolling boil over medium heat, making sure the butter has completely melted before continuing.
- Remove the saucepan from the heat and immediately add all of the sifted flour. Stir vigorously with a wooden spoon until no dry flour remains.
- Return the pan to medium-low heat and continue stirring constantly for about 2 minutes. The dough should come together into a smooth ball and leave a thin film on the bottom of the saucepan.
- Transfer the dough to the bowl of a stand mixer fitted with the paddle attachment.
- Mix on low speed for 2–3 minutes until much of the steam has escaped and the dough feels warm rather than hot.
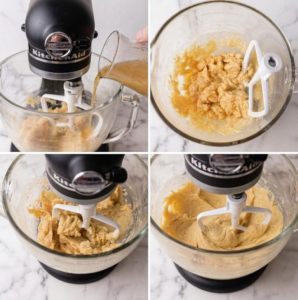
- Add the beaten eggs gradually, mixing well after each addition.
- At first the dough will look separated and slippery, but continue mixing until it becomes smooth before adding more egg.
- After the final addition, the dough should be glossy, thick, and slowly fall from the paddle in a smooth “V” shape.
- Transfer the dough to the prepared pastry bag.
- Pipe 1½-inch rounds for cream puffs or 5-inch strips for éclairs, leaving enough space between each pastry for expansion.
- If peaks remain after piping, gently smooth them with a fingertip dipped in water.
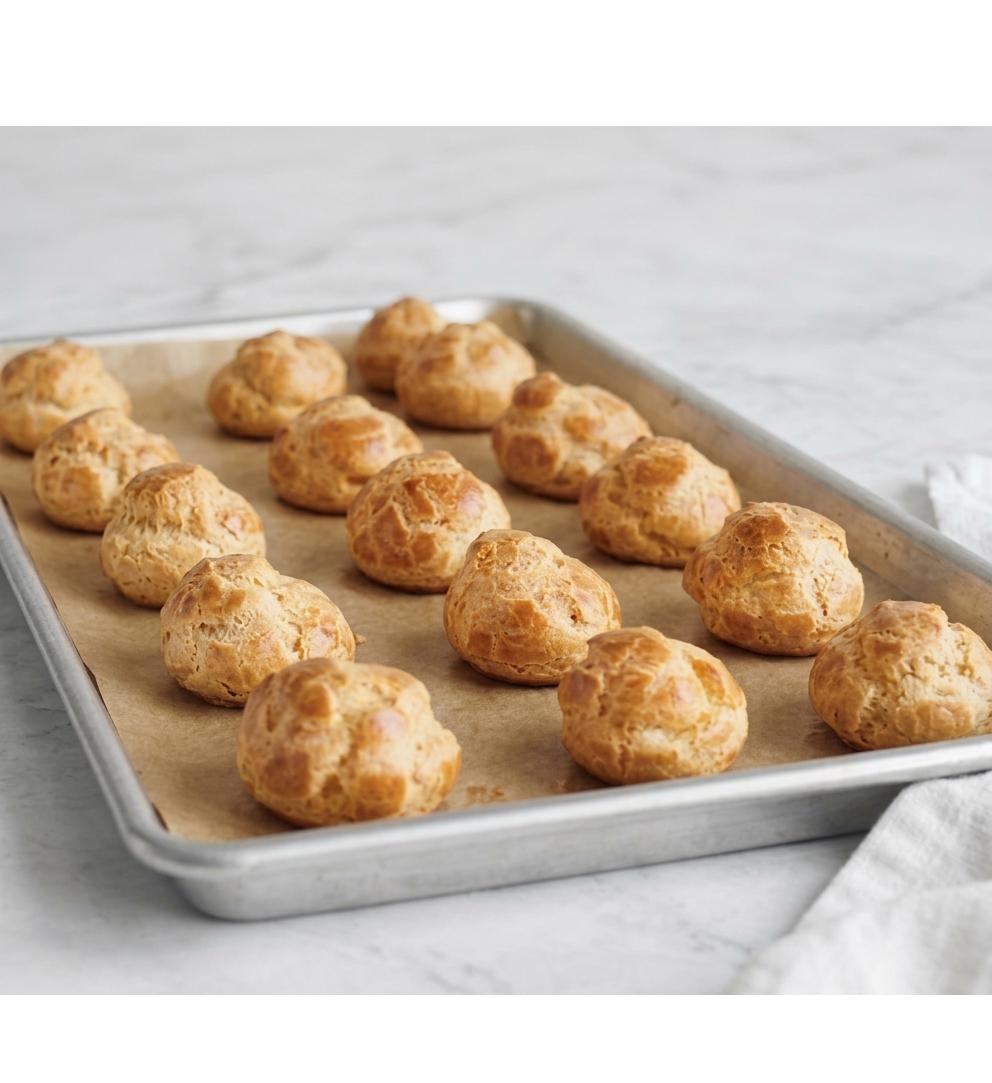
- Bake for 30–35 minutes until the pastries are deep golden brown, feel light when lifted, and sound slightly hollow when tapped.
- Do not open the oven during the first 25 minutes of baking.
- Remove the pastries from the oven and immediately pierce a small hole in the side or bottom of each shell.
- Return them to the turned-off oven with the door slightly ajar for about 5 minutes to release excess steam and dry the interiors.
- Transfer the pastries to a wire rack and allow them to cool completely before filling.
- The finished shells should feel crisp, lightweight, and hollow inside, making them ideal for pastry cream, whipped cream, chocolate mousse, or savory fillings.
Notes
- Room-temperature eggs incorporate more easily and produce a smoother dough.
- Measure the flour accurately for consistent results. Too much flour can make the pastry dense and limit its rise.
- Properly cooked choux shells can be stored in an airtight container at room temperature for up to one day or frozen for up to two months.
- To restore crispness, reheat unfilled shells in a 300°F (150°C) oven for 5–8 minutes, then cool completely before filling.
- Fill the pastries as close to serving time as possible to maintain their crisp texture.
- If the dough feels too stiff after adding four eggs, gradually add the fifth egg a little at a time until the proper consistency is reached.
- This recipe serves as the foundation for cream puffs, éclairs, profiteroles, Paris-Brest, gougères, and many other classic French pastries.
TIPS FOR THIS RECIPE
- COOK THE DOUGH LONG ENOUGH
One of the most important steps in making successful choux pastry happens before the eggs are ever added. Cooking the flour mixture on the stovetop removes excess moisture while allowing the starches to fully hydrate. The dough should pull away cleanly from the sides of the pan and leave a thin film on the bottom. If it’s removed too early, the extra moisture can prevent the pastry from puffing properly and may cause the shells to collapse after baking. - ADD THE EGGS GRADUALLY
The exact amount of egg needed can vary slightly depending on the flour, humidity, and how much moisture evaporated while cooking the dough. Rather than adding all the eggs at once, incorporate them gradually and watch the texture carefully. Properly mixed pâte à choux should look smooth, glossy, and elastic, slowly falling from the paddle or spatula in a thick “V” shape. This visual cue is much more reliable than simply following the ingredient list. - DON’T OPEN THE OVEN TOO SOON
It can be tempting to check on your pastries while they’re baking, but opening the oven door too early allows the steam inside the shells to escape before the structure has fully set. Since steam is what makes choux pastry rise, losing that heat too soon often causes flat or collapsed pastries. Wait until the shells are deeply golden and fully baked before opening the oven. - DRY THE SHELLS BEFORE COOLING
Beautifully puffed pastries can still become soft if excess steam remains trapped inside. Piercing each shell immediately after baking and returning them to the turned-off oven for a few minutes allows the moisture to escape gradually. This extra step helps preserve the crisp exterior and creates a stronger shell that holds fillings without becoming soggy too quickly. - FILL JUST BEFORE SERVING
Choux pastry is at its best when the shells remain crisp and the filling is fresh. While the baked shells can be prepared in advance, wait until shortly before serving to add pastry cream, whipped cream, or mousse. This keeps the contrast between the crisp pastry and creamy filling that makes éclairs and cream puffs so enjoyable. - PRACTICE MAKES PERFECT
Like many classic French techniques, pâte à choux becomes easier with experience. The first batch teaches you how the dough should feel, while each additional batch helps you recognize the ideal consistency more quickly. Once you’ve mastered this foundational recipe, you’ll be able to create countless elegant pastries with confidence.
SERVING IDEAS FOR CLASSIC CHOUX PASTRY
- Fill cream puffs with vanilla pastry cream and dust lightly with confectioners’ sugar for a timeless French dessert.
- Pipe rich chocolate pastry cream into éclairs and finish them with a smooth chocolate ganache for a bakery-style presentation.
- Fill profiteroles with vanilla ice cream and drizzle with warm chocolate sauce just before serving for a classic French dessert.
- Spoon lightly sweetened whipped cream into the shells and top with fresh strawberries, raspberries, or blueberries for an elegant spring or summer dessert.
- Prepare miniature cream puffs for afternoon tea or bridal showers, decorating them with a light dusting of powdered sugar.
- Fill the pastries with smoked salmon mousse, herbed cream cheese, or chicken salad to create sophisticated savory appetizers.
- Arrange filled cream puffs into a beautiful croquembouche for weddings, holidays, or other special celebrations.
- Serve freshly filled pastries alongside espresso, cappuccino, or café au lait for a classic French café experience.
RECIPE QUESTIONS
Why didn’t my choux pastry puff?
The most common causes are undercooking the dough on the stovetop, adding too much egg, or opening the oven door too early during baking. Choux pastry depends entirely on steam for its rise, so maintaining the correct moisture balance and oven temperature is essential. Properly prepared dough should be smooth, glossy, and thick enough to hold its shape after piping.
Can I make the dough ahead of time?
Freshly prepared dough always produces the best rise. However, you can refrigerate the piped, unbaked pastries for a few hours before baking if necessary. Baked shells also freeze exceptionally well, making them an excellent make-ahead dessert component for entertaining.
Why are my pastries hollow inside?
That’s exactly what you want. The hollow center is created as steam expands during baking and provides space for pastry cream, whipped cream, mousse, or savory fillings. A crisp shell with a generous hollow interior is the hallmark of properly made pâte à choux.
How should I store baked choux pastry?
Store completely cooled, unfilled shells in an airtight container at room temperature for up to one day or freeze them for up to two months. If they soften slightly, refresh them in a 300°F (150°C) oven for several minutes before cooling and filling.
Can I freeze cream puffs after filling them?
It depends on the filling. Ice cream-filled profiteroles freeze beautifully, while whipped cream or pastry cream fillings are generally best enjoyed fresh. For the best texture, freeze the empty shells and fill them shortly before serving.
DID YOU MAKE THIS RECIPE?
Learning to make classic pâte à choux is a wonderful milestone for any home baker, and we’d love to hear how your first batch turned out. Whether you transformed the pastry into elegant éclairs, delicate cream puffs, profiteroles, or even savory appetizers, we’d love to know how you served them.
If this recipe helped you feel more confident with French pastry techniques, please leave a star rating and share your experience in the comments. Your feedback not only helps us continue refining our recipes, but also gives other readers valuable insight before they begin baking.
If you experimented with different fillings or presentation ideas, tell us what worked best for you. And if you share your finished pastries on social media, be sure to tag The Sofî Edit—we always enjoy seeing your beautiful creations and the unique ways you bring our recipes to your own table.
Leave a Reply