
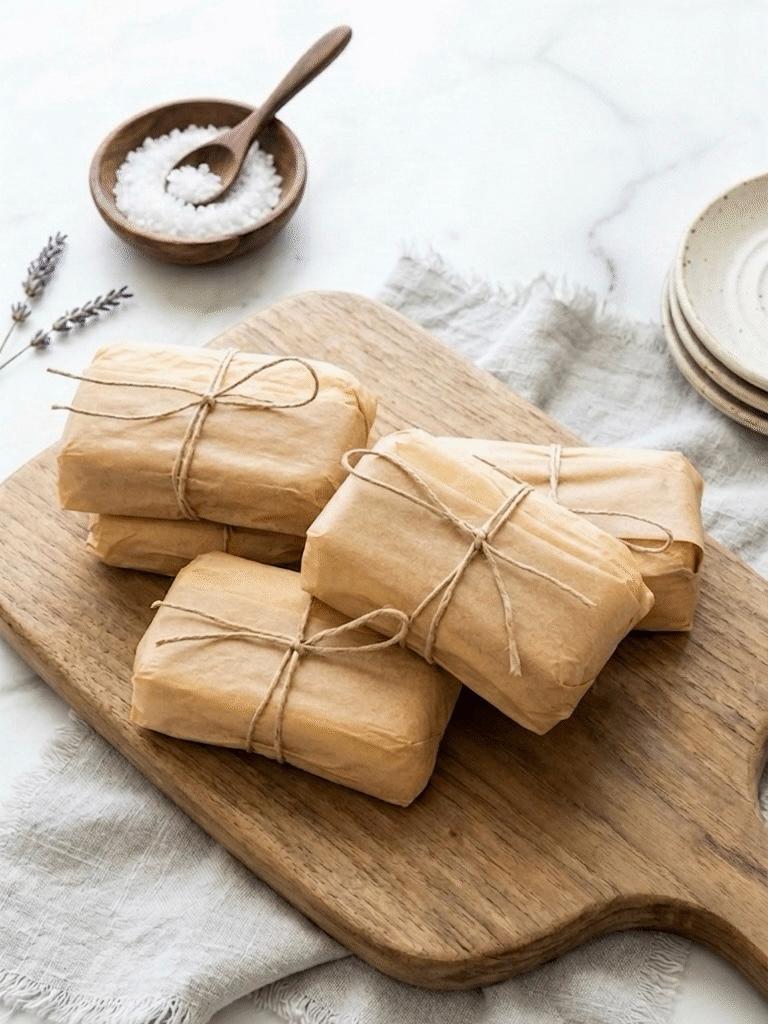
There’s something incredibly satisfying about making homemade butter from scratch. With just one simple ingredient and a mixer, heavy cream transforms into rich, creamy butter and fresh buttermilk in a matter of minutes. It’s one of those timeless kitchen techniques that feels almost magical the first time you see it happen, yet it’s surprisingly easy enough for anyone to master.
The flavor is what truly sets homemade butter apart. It’s fresher, creamier, and more delicate than most supermarket varieties, with a clean dairy taste that shines whether you’re spreading it on warm bread, baking cookies, or finishing steamed vegetables. Because you’re making it yourself, you also control the amount of salt—or leave it completely unsalted for baking and pastry recipes.
Another reason to love this recipe is that nothing goes to waste. As the butter separates, you’ll also end up with fresh buttermilk, a wonderful bonus that can be used in pancakes, biscuits, waffles, muffins, and quick breads. Instead of buying two different products, a single carton of heavy cream gives you both, making this recipe economical as well as rewarding.
Although homemade butter is remarkably simple, a few small techniques make a noticeable difference. Starting with well-chilled heavy cream, mixing beyond the whipped cream stage, and thoroughly washing the finished butter all improve its flavor, texture, and shelf life. If you’re new to baking, understanding how butter is made also helps you become a more confident home cook and gives you a better appreciation for one of the most important ingredients in the kitchen.
Once you’ve made homemade butter, you’ll find endless ways to enjoy it. Spread it over warm artisan bread, use it in flaky pastries, stir it into mashed potatoes, or transform it into flavored compound butters with herbs, garlic, honey, or cinnamon. It’s one of those foundational kitchen basics that elevates everyday cooking while connecting you to traditional techniques that have been used for generations.
WHY HOMEMADE BUTTER IS WORTH MAKING
Homemade butter may seem old-fashioned, but it’s one of the easiest and most rewarding recipes you can make. With only one ingredient and about ten minutes of mixing, you’ll create butter that’s richer, fresher, and creamier than many store-bought options.
Making butter yourself also gives you complete control over the final flavor. Keep it unsalted for baking, stir in flaky sea salt for everyday use, or create your own signature compound butters with fresh herbs, roasted garlic, citrus zest, honey, or cinnamon.
One of the biggest advantages is that this recipe naturally produces fresh buttermilk as a bonus. Instead of throwing it away, you can use it in pancakes, biscuits, muffins, waffles, cakes, or homemade bread, making every drop of the cream worthwhile.
Perhaps best of all, this recipe teaches an essential kitchen technique that every home cook should know. Once you see how easily cream transforms into butter, you’ll gain a deeper understanding of one of the most versatile ingredients used throughout baking and cooking.
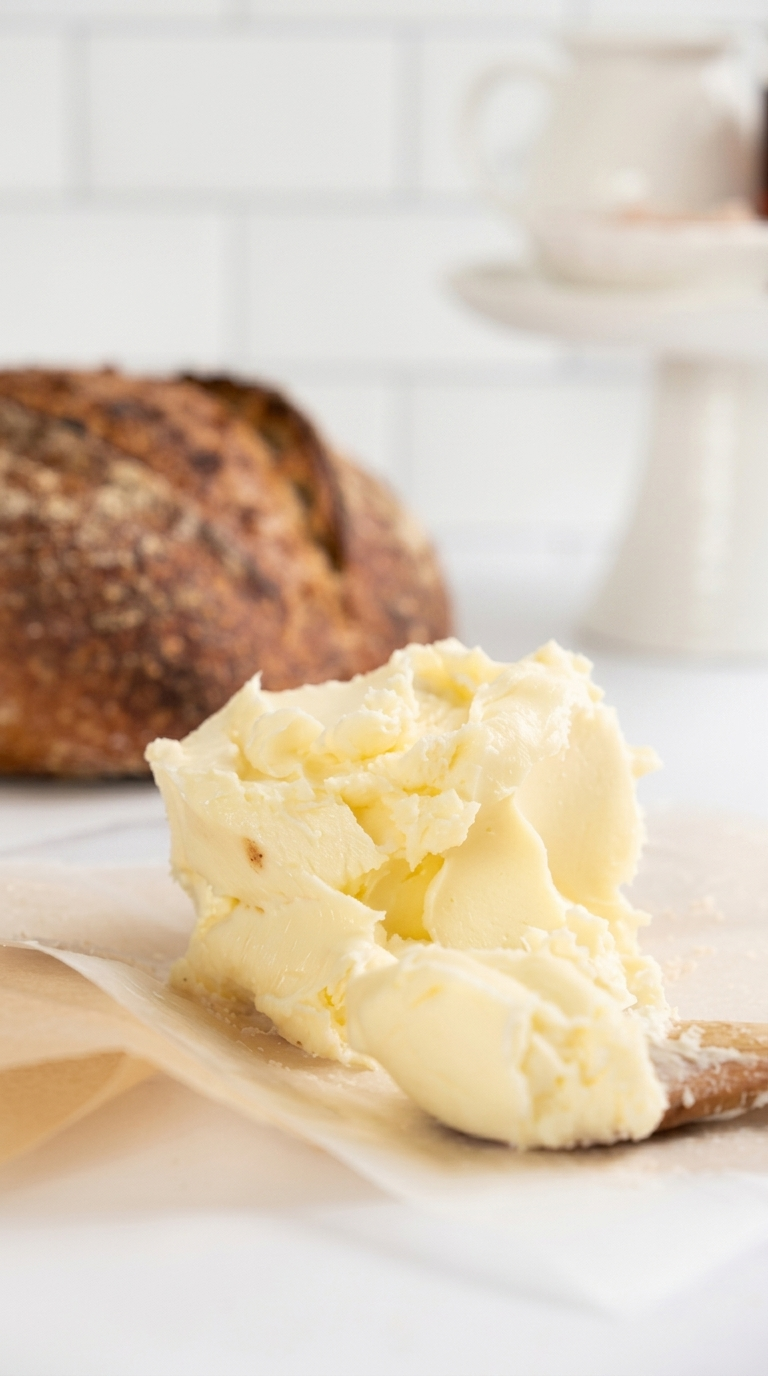
Homemade Butter
Ingredients
Equipment
Method
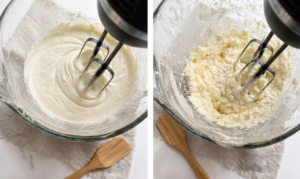
- Pour the cold heavy cream into the bowl of a stand mixer or a large mixing bowl if using a hand mixer. Beat on medium-high speed. The cream will first become soft whipped cream, then stiff whipped cream. Continue mixing even after this stage, as the butter doesn't form until the cream begins to separate naturally.
- Continue mixing until the butterfat separates from the liquid. You’ll notice large yellow clumps of butter forming while a thin white liquid, known as buttermilk, collects in the bowl. Depending on your mixer, this usually takes 8 to 12 minutes.
- Place a fine mesh strainer over a bowl and carefully pour the mixture through it. Reserve the fresh buttermilk for pancakes, biscuits, muffins, waffles, or other baking recipes. Transfer the butter solids to a clean bowl.
- Cover the butter with ice-cold water and gently press and fold it using a rubber spatula or clean hands. Pour off the cloudy water and repeat the process several times until the water remains almost completely clear.
- If making salted butter, sprinkle the salt over the butter after washing. Fold and knead gently until the salt is evenly distributed throughout.
- Press the finished butter into an airtight container, butter mold, or shape it into a log using parchment paper. Refrigerate for at least one hour before serving to allow it to firm up completely.
Notes
- Use heavy cream with at least 35% milk fat for the best yield.
- Continue mixing even after whipped cream forms—the butter separates shortly afterward.
- Washing the butter thoroughly removes excess buttermilk, improving both flavor and shelf life.
- Salt is completely optional. Unsalted butter is ideal for baking, while salted butter is perfect for everyday use.
- Save the fresh buttermilk for baking instead of discarding it.
TIPS FOR THIS RECIPE
- START WITH COLD HEAVY CREAM
Cold heavy cream churns more efficiently and separates into butter and buttermilk much faster than cream that’s been sitting at room temperature. Starting with well-chilled cream also helps produce a smoother, firmer butter that’s easier to wash and shape. For the best results, keep the cream refrigerated until you’re ready to begin mixing. - DON’T STOP AT WHIPPED CREAM
One of the most common mistakes when making homemade butter is stopping too early. The cream will first become soft whipped cream and then stiff whipped cream before it suddenly separates into butter and buttermilk. This transformation happens quickly, so keep mixing even when you think you’ve reached the final stage. The extra few minutes make all the difference. - WASH THE BUTTER THOROUGHLY
Washing the butter is one of the most important steps in the entire process. Leftover buttermilk trapped inside the butter can cause it to spoil much sooner. Rinse and gently press the butter under very cold water until the water remains almost clear. Taking the time to do this properly improves both flavor and shelf life. - SEASON AFTER WASHING
Always add salt after the butter has been washed. This allows the seasoning to blend evenly without trapping extra moisture inside the butter. If you plan to use your butter primarily for baking, leave it unsalted so you have complete control over the salt level in your recipes. - SAVE THE FRESH BUTTERMILK
Don’t pour the buttermilk down the drain—it’s one of the best bonuses of making homemade butter. Fresh buttermilk adds wonderful flavor and tenderness to pancakes, waffles, biscuits, muffins, quick breads, and cakes. Store it in an airtight container in the refrigerator and use it within a few days for the best results.
SERVING IDEAS FOR HOMEMADE BUTTER
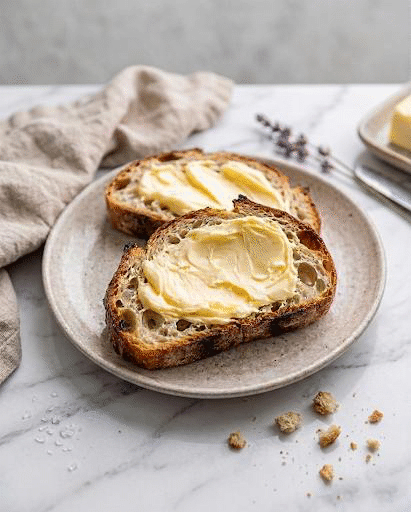
- Spread generously over warm Artisan Bread, dinner rolls, biscuits, or freshly baked sourdough while they’re still warm.
- Melt over baked potatoes, roasted vegetables, grilled corn, or steamed green beans for a simple but flavorful finishing touch.
- Use it in your favorite cookie, cake, pastry, and bread recipes whenever you want the freshest possible butter flavor.
- Stir chopped herbs, roasted garlic, or lemon zest into softened butter to create delicious compound butters for grilled meats and vegetables.
- Whip it with honey and a pinch of flaky sea salt for a sweet spread that’s perfect on pancakes, waffles, muffins, or toast.
- Serve it alongside homemade jam, fruit preserves, or citrus marmalade as part of a beautiful breakfast or brunch board.
- Add a generous pat to hot pasta, steamed rice, or creamy mashed potatoes just before serving for extra richness and flavor.
RECIPE QUESTIONS
- WHY DIDN’T MY BUTTER FORM?
If your cream never separated into butter and buttermilk, it usually needs a few more minutes of mixing. Remember that heavy cream first becomes whipped cream before it transforms into butter. Be patient and continue mixing until you see yellow butter solids separating from the liquid. Also, check that you’re using heavy cream with at least 35% milk fat, as lower-fat creams may not produce the same results. - WHY DO I NEED TO WASH HOMEMADE BUTTER?
Washing the butter removes the remaining buttermilk trapped inside after churning. If left behind, that buttermilk can shorten the butter’s shelf life and affect its flavor over time. Continue rinsing with very cold water until it runs almost clear. Although it only takes a few extra minutes, this simple step helps your homemade butter stay fresher for much longer. - CAN I MAKE SALTED OR UNSALTED BUTTER?
Absolutely. One of the biggest advantages of making butter at home is that you control the final flavor. Leave it unsalted if you plan to use it for baking, where recipes often specify the amount of salt separately. For everyday use, simply mix in fine sea salt after washing the butter until it’s evenly distributed throughout. - HOW LONG DOES HOMEMADE BUTTER LAST?
When stored in an airtight container and properly washed, homemade butter will keep in the refrigerator for about 1 to 2 weeks. Because it doesn’t contain the preservatives found in many commercial butters, good storage practices are important. Keep it tightly covered to prevent it from absorbing odors from other foods in the refrigerator. - CAN I FREEZE HOMEMADE BUTTER?
Yes. Homemade butter freezes exceptionally well and is a great way to keep extra batches on hand. Wrap it tightly in parchment paper, plastic wrap, or a freezer-safe container to protect it from freezer burn. It will maintain its best quality for up to 3 months. Thaw it overnight in the refrigerator before using. - WHAT CAN I DO WITH THE LEFTOVER BUTTERMILK?
Fresh buttermilk is too good to waste. Use it to make fluffy pancakes, tender biscuits, waffles, muffins, quick breads, or cakes. It also works beautifully in marinades for fried chicken and homemade salad dressings. Because it’s fresh and doesn’t contain the stabilizers found in commercial buttermilk, try to use it within a few days for the best flavor.
DID YOU MAKE THIS RECIPE?
I’d love to hear how your homemade butter turned out! Whether this was your very first time making butter from scratch or you’ve been making it for years, your experience can help inspire and encourage other home cooks to give it a try.
If you enjoyed this recipe, please consider leaving a star rating and a review below. Your feedback not only helps other readers feel more confident about making the recipe, but it also helps The Sofî Edit continue creating reliable, thoroughly tested recipes and practical kitchen guides for home bakers and cooks.
If you made any delicious variations—perhaps adding flaky sea salt, fresh herbs, roasted garlic, honey, cinnamon, or citrus zest—we’d love to hear about them. Every kitchen adds its own special touch, and your ideas may inspire someone else’s next batch.
Don’t forget to take a photo before your butter disappears! Share your homemade butter on social media and tag The Sofî Edit so we can see your beautiful creations. Seeing your recipes come to life in kitchens around the world is one of our favorite parts of creating new content, and we truly appreciate every photo, review, and comment you share.
Leave a Reply