Ingredients
Equipment
Method
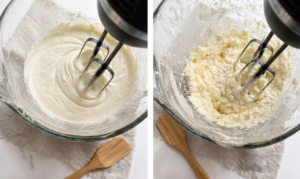
- Pour the cold heavy cream into the bowl of a stand mixer or a large mixing bowl if using a hand mixer. Beat on medium-high speed. The cream will first become soft whipped cream, then stiff whipped cream. Continue mixing even after this stage, as the butter doesn't form until the cream begins to separate naturally.
- Continue mixing until the butterfat separates from the liquid. You'll notice large yellow clumps of butter forming while a thin white liquid, known as buttermilk, collects in the bowl. Depending on your mixer, this usually takes 8 to 12 minutes.
- Place a fine mesh strainer over a bowl and carefully pour the mixture through it. Reserve the fresh buttermilk for pancakes, biscuits, muffins, waffles, or other baking recipes. Transfer the butter solids to a clean bowl.
- Cover the butter with ice-cold water and gently press and fold it using a rubber spatula or clean hands. Pour off the cloudy water and repeat the process several times until the water remains almost completely clear.
- If making salted butter, sprinkle the salt over the butter after washing. Fold and knead gently until the salt is evenly distributed throughout.
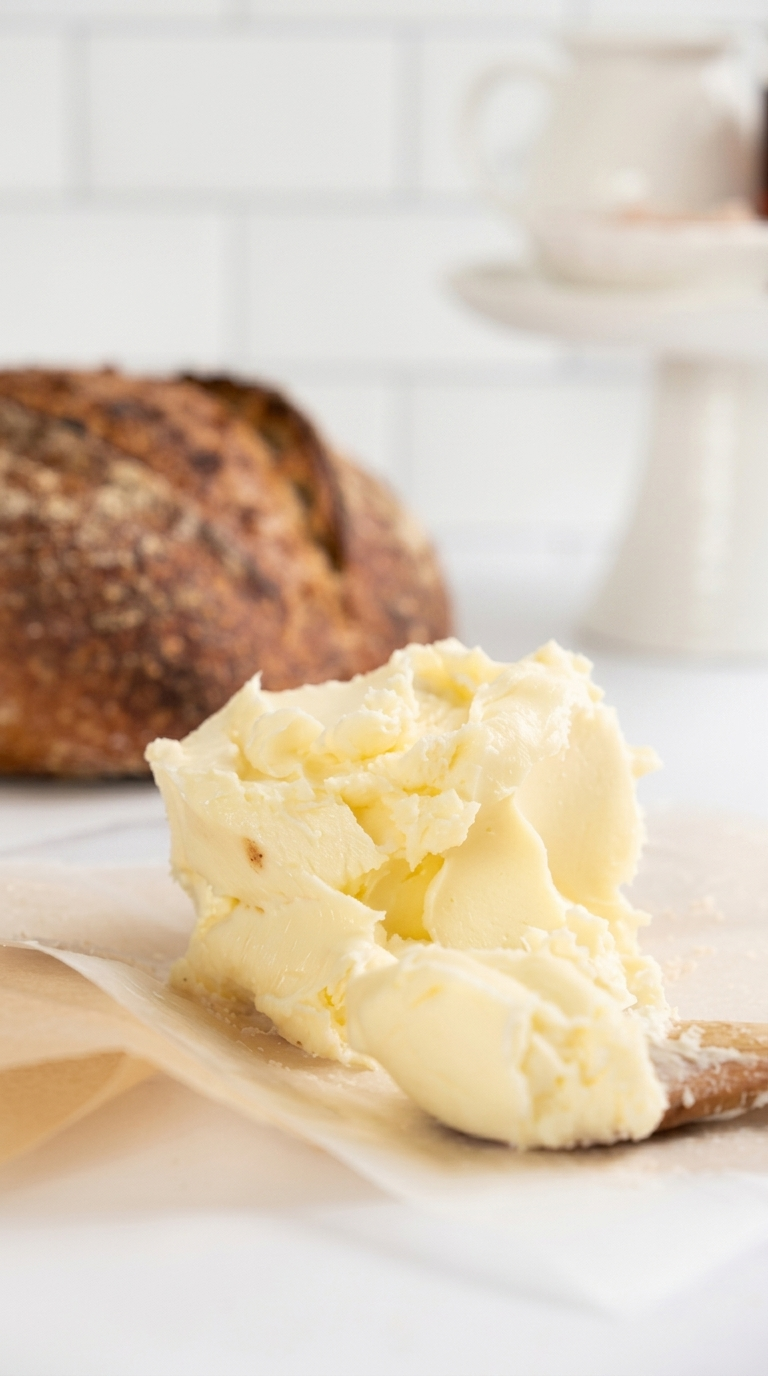
- Press the finished butter into an airtight container, butter mold, or shape it into a log using parchment paper. Refrigerate for at least one hour before serving to allow it to firm up completely.
Tip: Many people stop mixing once they see whipped cream. Keep going the butter forms only after the whipped cream stage has completely developed.
Tip: Washing removes any remaining buttermilk trapped inside the butter. This simple step significantly improves freshness and helps the butter last much longer in the refrigerator.
Notes
- Use heavy cream with at least 35% milk fat for the best yield.
- Continue mixing even after whipped cream forms—the butter separates shortly afterward.
- Washing the butter thoroughly removes excess buttermilk, improving both flavor and shelf life.
- Salt is completely optional. Unsalted butter is ideal for baking, while salted butter is perfect for everyday use.
- Save the fresh buttermilk for baking instead of discarding it.