
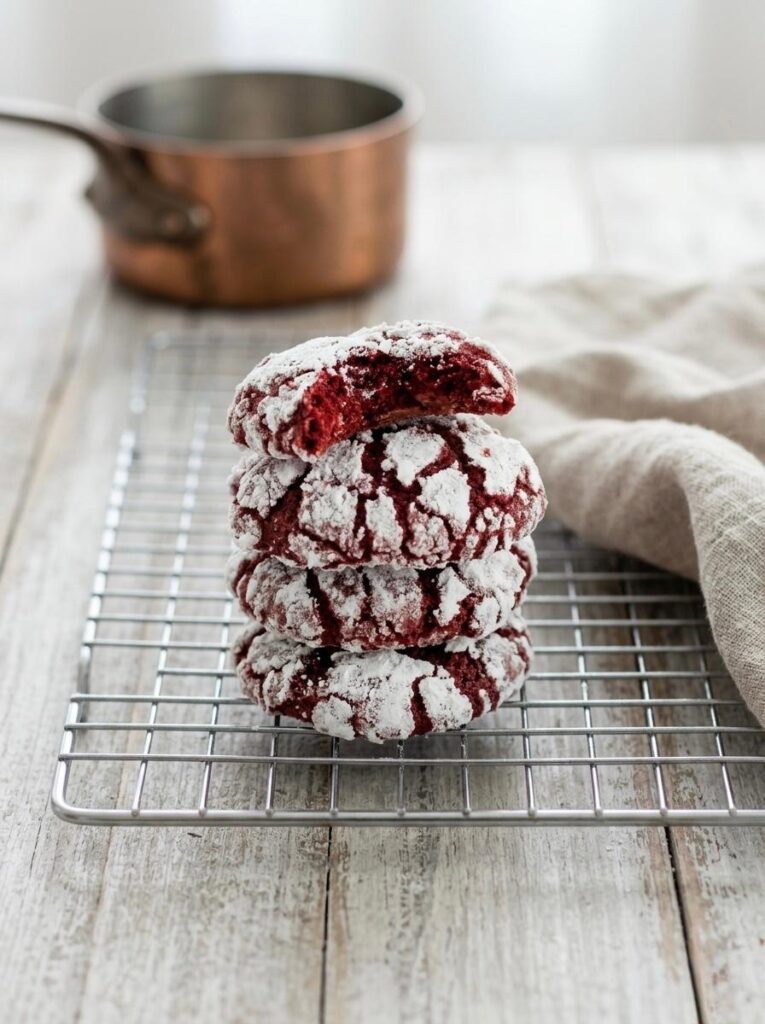
If you love classic red velvet cake, these Red Velvet Crinkle Cookies bring all of its signature flavor into a soft, bakery-style cookie with an unforgettable appearance. Their vibrant crimson centers peek through a snowy coating of powdered sugar, creating the beautiful crackled tops that make crinkle cookies a favorite during the holidays and throughout the year.
Every bite offers the perfect balance of textures. The delicate exterior develops a thin, lightly crisp shell while the inside stays incredibly soft, moist, and almost brownie-like. A hint of cocoa provides the classic red velvet flavor without overpowering the rich buttery dough, while vanilla adds warmth that makes these cookies taste elegant rather than overly sweet.
Despite their impressive appearance, Red Velvet Crinkle Cookies are surprisingly simple to make. With a handful of pantry staples and a few straightforward techniques, you’ll create cookies that look as though they came from a boutique bakery. The generous coating of confectioners’ sugar naturally forms dramatic cracks as the cookies bake, giving each one its distinctive finish.
Whether you’re baking for Christmas cookie trays, Valentine’s Day, birthdays, baby showers, cookie exchanges, or simply because you’re craving something special, these cookies are always a beautiful choice. Their festive color, soft texture, and rich flavor make them one of those dependable recipes that people remember long after the last cookie disappears.
WHY THESE COOKIES BELONG IN EVERY BAKER’S RECIPE BOX
Red Velvet Crinkle Cookies are one of those recipes that instantly impress without requiring complicated techniques. Their snowy powdered sugar coating opens as they bake, revealing the vibrant red cookie underneath and creating the signature crackled appearance that makes them look as beautiful as they taste. Every cookie develops a soft, fudgy center surrounded by delicate edges that stay tender for days.
The flavor is equally timeless. Unlike chocolate cookies that rely on deep cocoa notes, red velvet has a gentler character. A small amount of cocoa powder adds richness while butter, vanilla, and brown sugar create a balanced cookie that’s soft, buttery, and wonderfully satisfying. It’s the kind of dessert that appeals to both chocolate lovers and vanilla lovers alike.
If you’re just beginning your baking journey, this recipe is also an excellent opportunity to practice a few essential techniques. On The Sofî Edit, you can pair these cookies with helpful baking guides like How to Measure Flour Correctly, Room Temperature Ingredients, How to Make Homemade Butter, and Baking Powder vs. Baking Soda. Mastering these simple fundamentals helps ensure cookies with the ideal texture, even color, and consistent results every time.
One of the best things about this recipe is its versatility. The dough can be prepared in advance, the baked cookies stay soft for several days, and they’re sturdy enough for gifting while remaining elegant enough for dessert tables and holiday entertaining. It’s the kind of reliable recipe you’ll find yourself returning to year after year, no matter the season.
Red Velvet Crinkle Cookies
Ingredients
Equipment
Method
- Preheat the oven to 350°F (175°C) and line two baking sheets with parchment paper.
- In a medium bowl, whisk together the flour, cocoa powder, baking powder, baking soda, and salt until evenly combined.
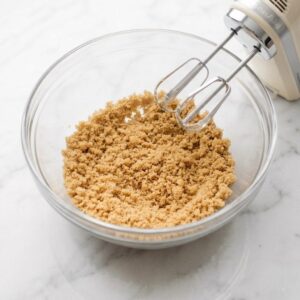
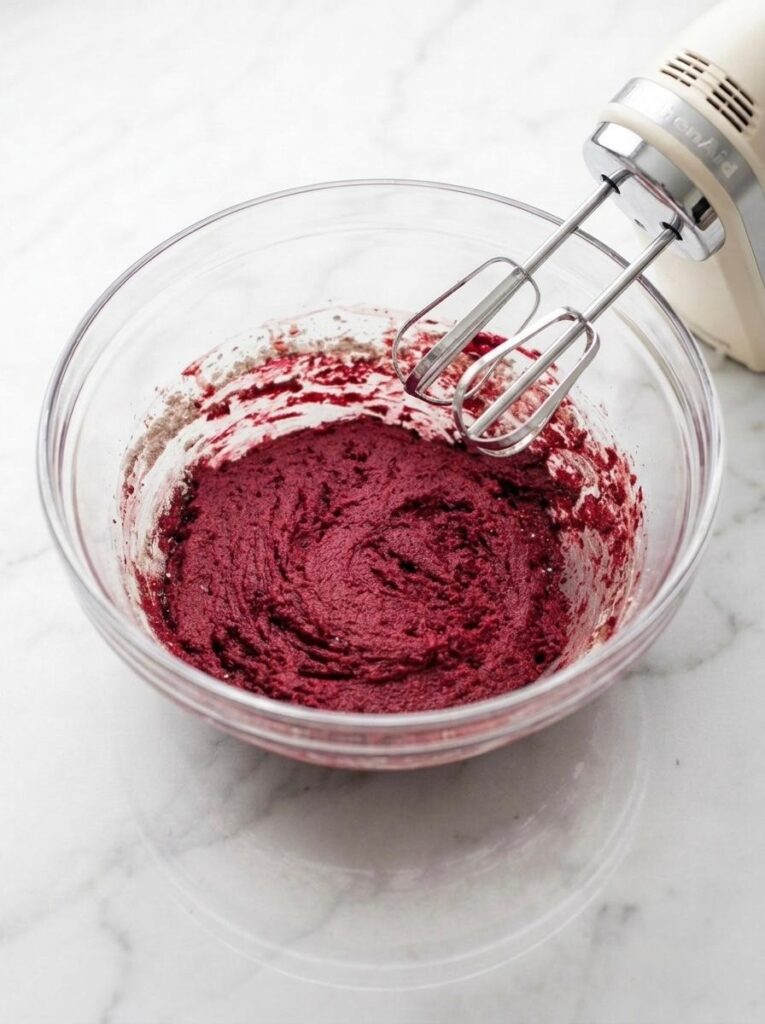
- In a large mixing bowl, beat the softened butter with the granulated sugar and brown sugar for about 2–3 minutes, until light and fluffy. Add the eggs one at a time, beating well after each addition. Mix in the vanilla extract, red food coloring, and vinegar until the batter is smooth and evenly colored.
- Gradually add the dry ingredients, mixing on low speed just until a soft dough forms and no dry streaks remain.
- Cover the bowl and refrigerate the dough for 30 minutes.
- Using a 1½-tablespoon cookie scoop, portion the dough and roll each piece into a smooth ball. Coat each dough ball generously in confectioners’ sugar until completely covered, then place them about 2 inches apart on the prepared baking sheets.
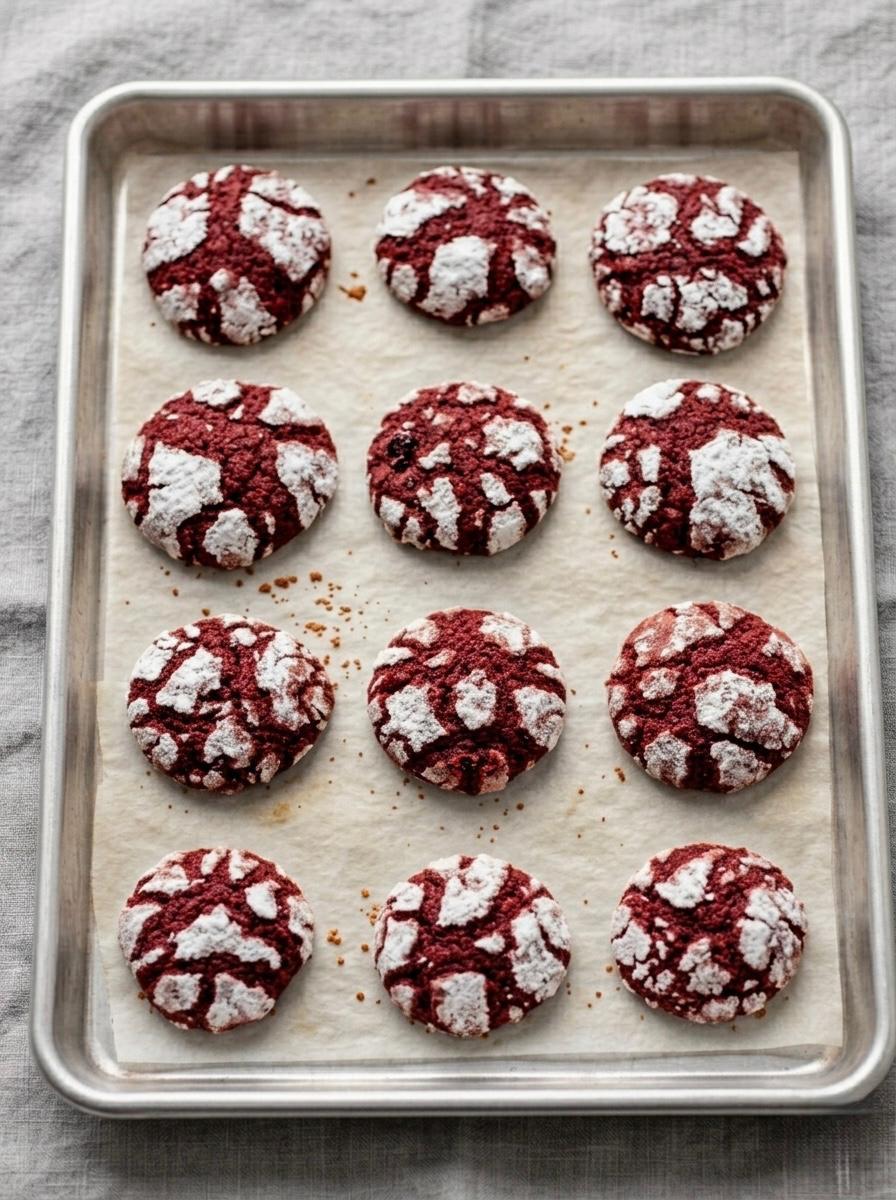
- Bake for 10–12 minutes, or until the cookies have spread slightly and developed their signature crinkle pattern. The edges should be set while the centers still appear slightly soft.
- Leave the cookies on the baking sheet for 5 minutes, then carefully transfer them to a cooling rack.
- Allow the cookies to cool completely before serving.
- Store them in an airtight container at room temperature for up to 5 days, or freeze them for up to 3 months.
Notes

- Coat each cookie generously with powdered sugar for the most dramatic crackled appearance.
- Avoid overbaking; the centers should remain soft.
- The cookies continue to set as they cool.
- Room-temperature eggs help create a smoother dough and more even texture.
TIPS FOR THIS RECIPE
- CHILL THE DOUGH FOR BETTER CRINKLES
Chilling the dough is one of the most important steps in this recipe. As the butter firms up and the flour fully hydrates, the cookies spread more slowly in the oven, producing thicker centers and more defined crackled tops. If your kitchen is especially warm, an extra 15–20 minutes of chilling can make an even bigger difference. - USE GEL FOOD COLORING
Gel food coloring produces a richer, more vibrant red without adding extra liquid to the dough. Liquid food coloring can work in a pinch, but you’ll usually need more of it, which may slightly alter the dough’s consistency. For the classic deep red velvet color, gel is the most reliable choice. - DON’T SKIP THE POWDERED SUGAR
The generous coating of confectioners’ sugar is what creates the cookies’ beautiful snowy appearance. Roll each dough ball until it’s completely covered, leaving no exposed dough. As the cookies expand in the oven, the sugar coating splits naturally, creating the signature crinkle pattern. - REMOVE THEM WHILE THE CENTERS ARE STILL SOFT
The cookies should look set around the edges but still appear slightly soft in the center when you take them out of the oven. They will continue baking from the residual heat while resting on the baking sheet. Overbaking is the most common reason crinkle cookies lose their soft, fudgy texture. - MEASURE THE FLOUR CAREFULLY
Too much flour can make the dough stiff and prevent the cookies from spreading properly. For the most consistent results, use a kitchen scale whenever possible or measure the flour using the spoon-and-level method. If you’d like a refresher, our How to Measure Flour Correctly guide explains why this simple technique makes such a noticeable difference. - STORE THEM PROPERLY
Keep the cooled cookies in an airtight container at room temperature for up to five days. They’ll remain wonderfully soft and chewy, making them an excellent make-ahead dessert for parties, holiday cookie boxes, or gifting. If stacking them, place parchment paper between the layers to help preserve the powdered sugar coating.
SERVING IDEAS FOR RED VELVET CRINKLE COOKIES
- Serve with freshly brewed coffee or espresso for a simple afternoon treat.
- The slight bitterness of the coffee balances the sweetness of the cookies beautifully.
- Pair with a cold glass of milk for a classic combination that’s especially popular with children and perfect for after-school snacks.
- Arrange them on a holiday cookie tray alongside Chocolate Crinkle Cookies and Brown Butter Chocolate Chip Cookies for a beautiful assortment of textures and flavors.
- Sandwich two cookies with lightly sweetened cream cheese frosting for an indulgent red velvet-inspired dessert.
- Crumble them over vanilla ice cream for a quick dessert with contrasting textures and rich cocoa flavor.
- Package them in decorative tins or bakery boxes for thoughtful homemade gifts during Christmas, Valentine’s Day, birthdays, or other celebrations.

RECIPE QUESTIONS
- Why didn’t my cookies crack?
The most common reasons are dough that wasn’t chilled long enough, too little powdered sugar, or too much flour. Chilling helps control spreading, while a generous sugar coating creates the dramatic white cracks as the cookies expand. Measuring the flour accurately also helps achieve the correct consistency. - Can I make the dough ahead of time?
Yes. The dough can be refrigerated for up to 48 hours before baking. In fact, a longer chill often improves both the flavor and the texture. Let the dough sit at room temperature for about 10 minutes if it feels too firm to scoop easily. - Can I freeze these cookies?
Absolutely. You can freeze the baked cookies in an airtight container for up to three months. You can also freeze the unbaked dough balls without the powdered sugar. Thaw them slightly, coat them generously in confectioners’ sugar, and bake as directed. - Why should I use gel food coloring?
Gel food coloring provides a vibrant red color without adding extra moisture to the dough. Because it’s more concentrated than liquid coloring, it creates a richer color while maintaining the proper consistency needed for thick, bakery-style cookies. - How do I know when they’re done?
The edges should be set and the tops fully crackled, while the centers still look slightly soft. The cookies continue to set on the baking sheet after leaving the oven, which helps create their signature soft and fudgy texture.
DID YOU MAKE THIS RECIPE?
We’d love to hear how your Red Velvet Crinkle Cookies turned out! If you made this recipe, please leave a star rating and share your experience in the comments below. Your feedback helps other readers and allows us to continue creating recipes that are both reliable and enjoyable to make.
If you tried a variation, baked them for a special occasion, or discovered a favorite way to serve them, let us know—we always enjoy seeing the creative ways our readers make these recipes their own. And if you share your cookies on social media, be sure to tag The Sofî Edit so we can celebrate your beautiful bakes. Whether they’re part of a holiday cookie tray, a Valentine’s Day dessert, or simply an afternoon baking project, we hope these cookies become a recipe you’ll return to again and again.
Leave a Reply