
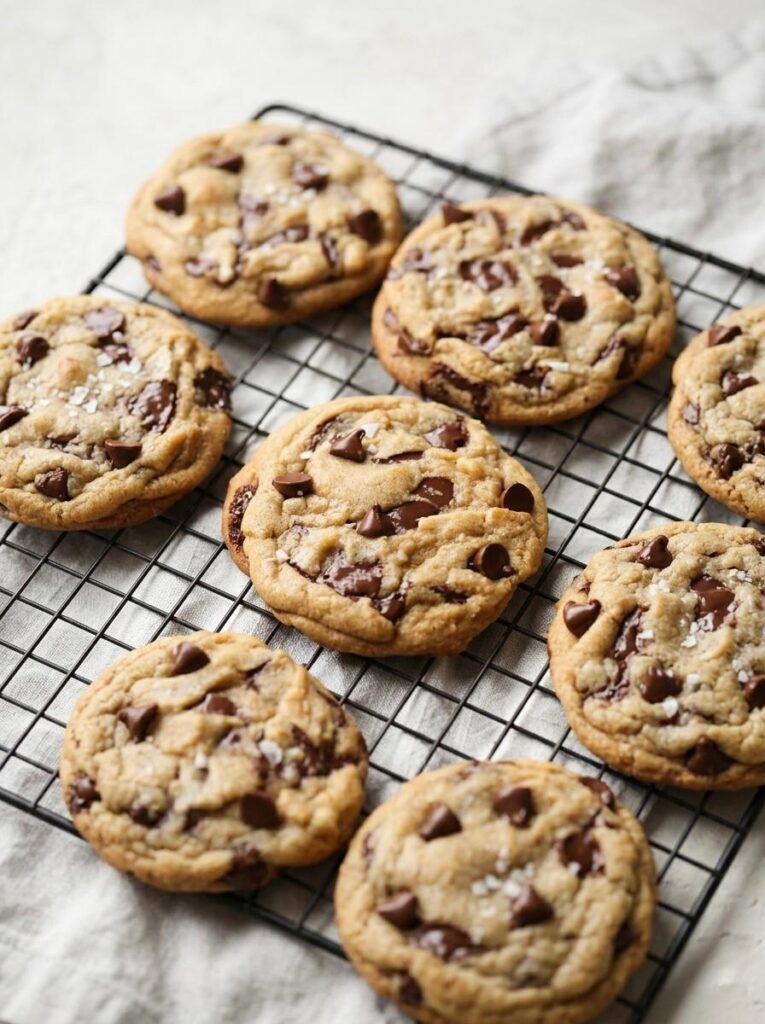
There’s a reason brown butter chocolate chip cookies have become a modern bakery favorite. A few extra minutes spent browning the butter completely transform an everyday cookie into something richer, deeper, and far more memorable. The toasted milk solids develop warm caramel and hazelnut notes that pair beautifully with melted chocolate, creating cookies that taste as though they came straight from an artisan bakery.
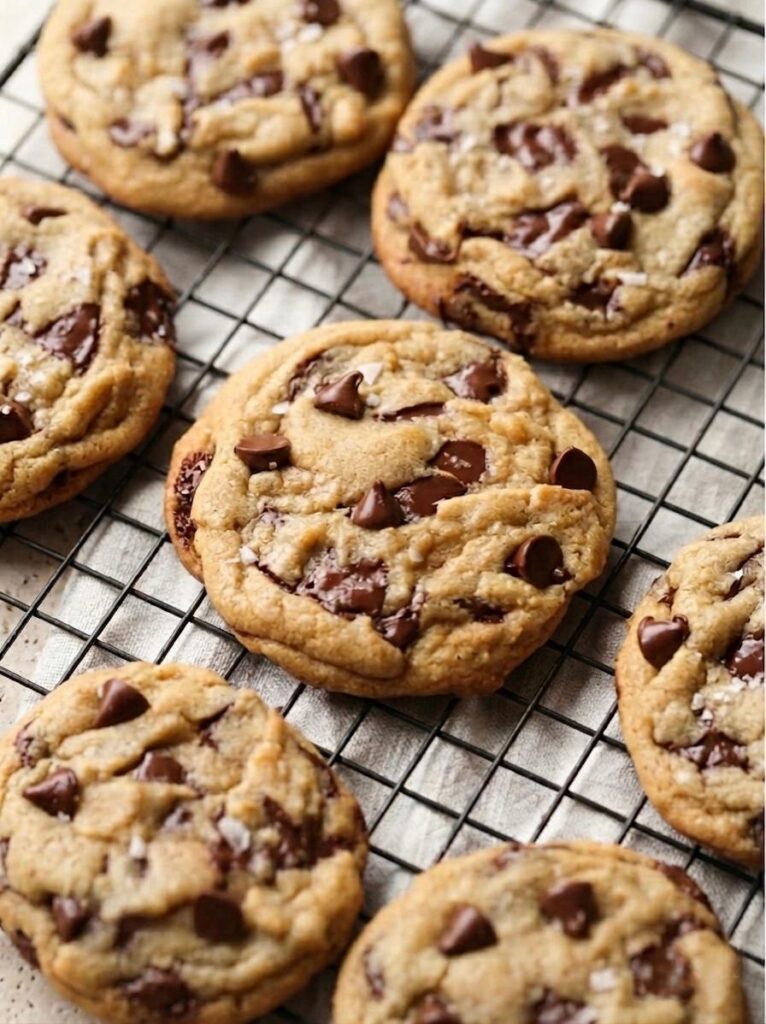
These cookies strike the perfect balance between texture and flavor. The edges bake crisp and lightly caramelized while the centers stay thick, soft, and wonderfully chewy. Large pools of chocolate melt throughout each cookie, and a sprinkle of flaky sea salt adds just enough contrast to make every bite even more irresistible.
Although brown butter sounds like an advanced baking technique, it’s surprisingly simple once you understand what to look for. Combined with a short chilling time, it produces cookies that spread less, bake thicker, and develop the beautiful wrinkled tops often seen in professional bakeries. The result is a cookie that’s elegant enough for entertaining but easy enough to bake whenever a chocolate craving strikes.
Whether you’re filling a holiday cookie tin, preparing desserts for guests, or simply enjoying a warm cookie with an afternoon coffee, this recipe delivers consistently outstanding results. It’s a timeless chocolate chip cookie with deeper flavor, richer texture, and just enough sophistication to make it feel truly special.
WHAT MAKES THESE COOKIES TRULY SPECIAL
TExceptional chocolate chip cookies aren’t just about adding more chocolate—they’re built on technique. Browning the butter develops layers of caramelized, nutty flavor that simply can’t be achieved with regular melted or softened butter. Combined with brown sugar, vanilla, and generous pieces of chocolate, every cookie tastes richer, warmer, and more complex than a traditional version.
Texture is equally important. An extra egg yolk creates a softer, chewier interior, while chilling the dough gives the flour time to hydrate and allows the browned butter to firm up again. This helps the cookies bake thicker with crisp golden edges, tender centers, and the signature bakery-style appearance that home bakers love.
If you’re new to baking with browned butter, don’t worry—this recipe is an excellent place to start. On The Sofî Edit, you’ll also find helpful baking guides like How to Brown Butter, How to Measure Flour Correctly, Room Temperature Ingredients, and Baking Powder vs. Baking Soda. Together, these simple techniques explain the “why” behind the recipe and help you achieve consistently beautiful cookies every time.
Finally, this is one of those dependable recipes you’ll return to throughout the year. The dough can be prepared ahead, the cookies freeze beautifully, and they’re equally perfect for holiday cookie exchanges, weekend baking, lunchbox treats, or serving warm alongside coffee or vanilla ice cream. Once you’ve made them once, they’ll quickly become one of the most reliable recipes in your baking collection.
Brown Butter Chocolate Chip Cookies
Ingredients
Equipment
Method
- Melt the butter in a medium saucepan over medium heat. Continue cooking, stirring frequently, until the bubbling slows and the milk solids turn deep golden brown with a rich, nutty aroma. Immediately transfer the butter to a heatproof bowl, scraping in every browned bit, and let it cool for about 20 minutes until warm but no longer hot.
- In a separate bowl, whisk together the flour, baking soda, baking powder, and salt until evenly combined. Having the dry ingredients ready makes it easier to mix the dough quickly without overworking it later.
- Tip: Brown butter can burn quickly during the last minute of cooking. Remove it from the heat as soon as the milk solids become amber and fragrant rather than dark brown.
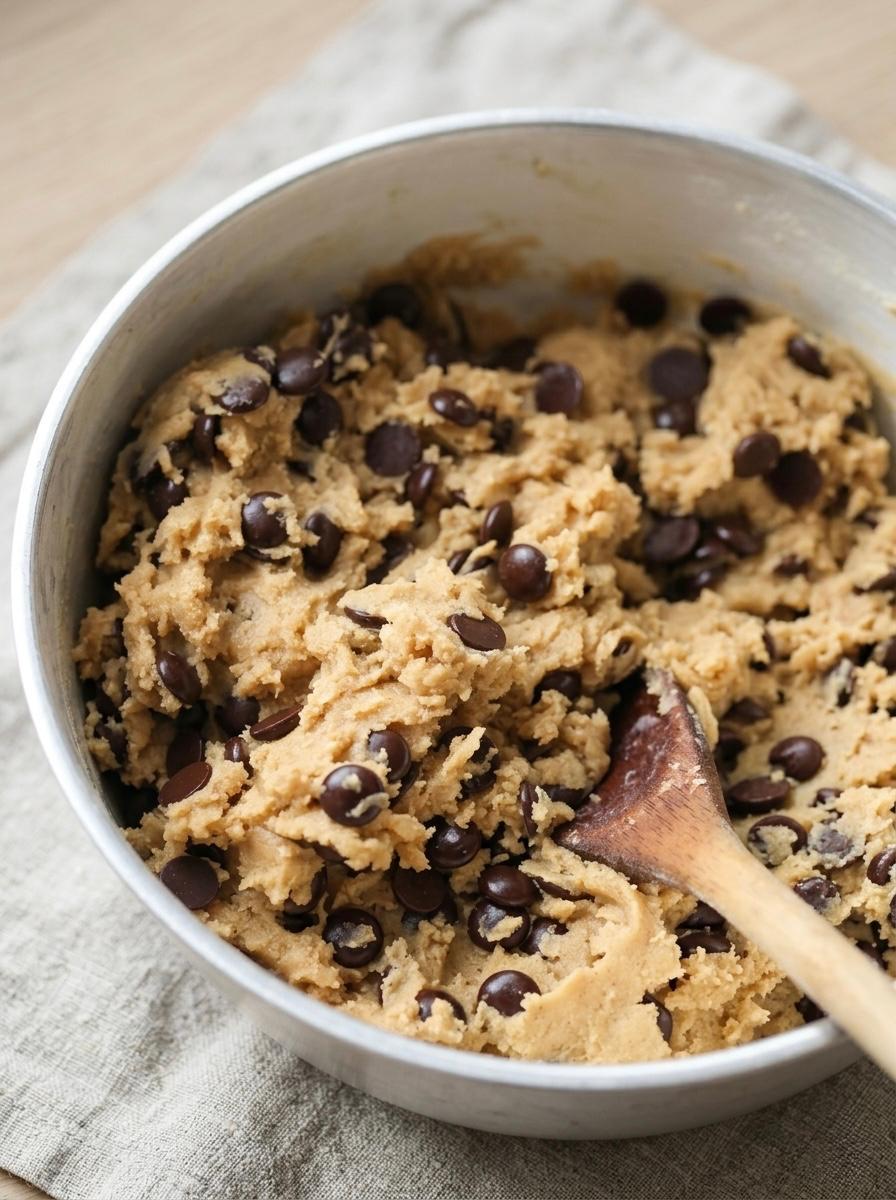
- Whisk the cooled brown butter with the brown sugar and granulated sugar until smooth and glossy. Add the egg, egg yolk, and vanilla extract, whisking until fully incorporated. Fold in the dry ingredients just until no dry flour remains, then gently mix in the chocolate chips or chopped chocolate until evenly distributed.
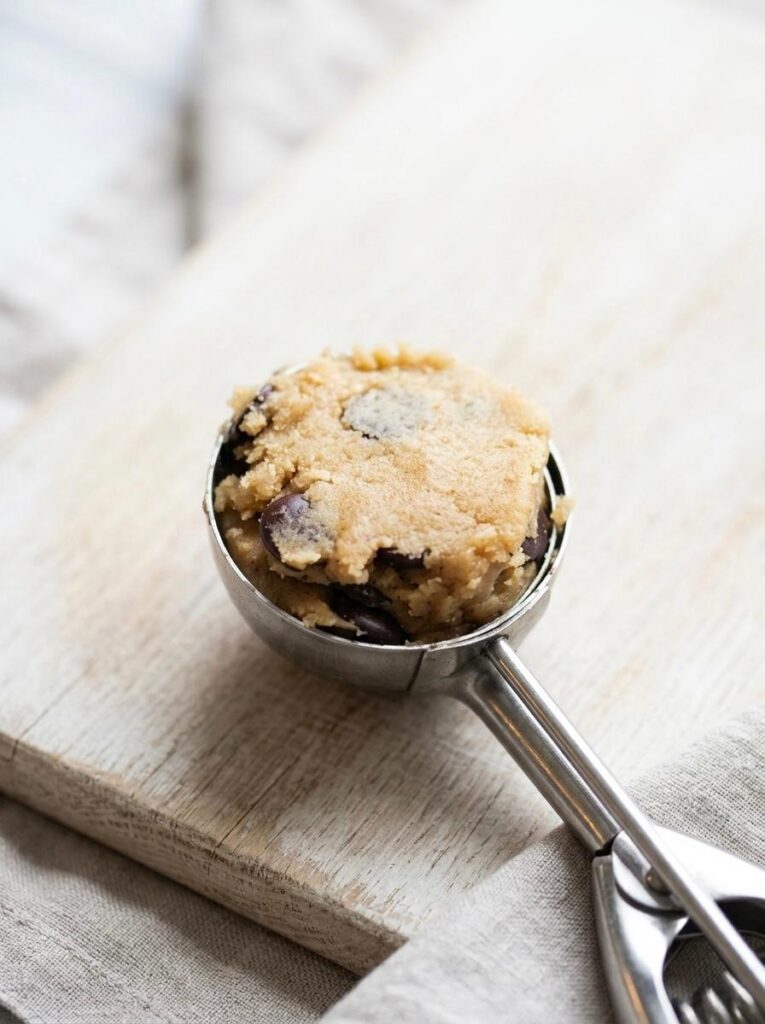
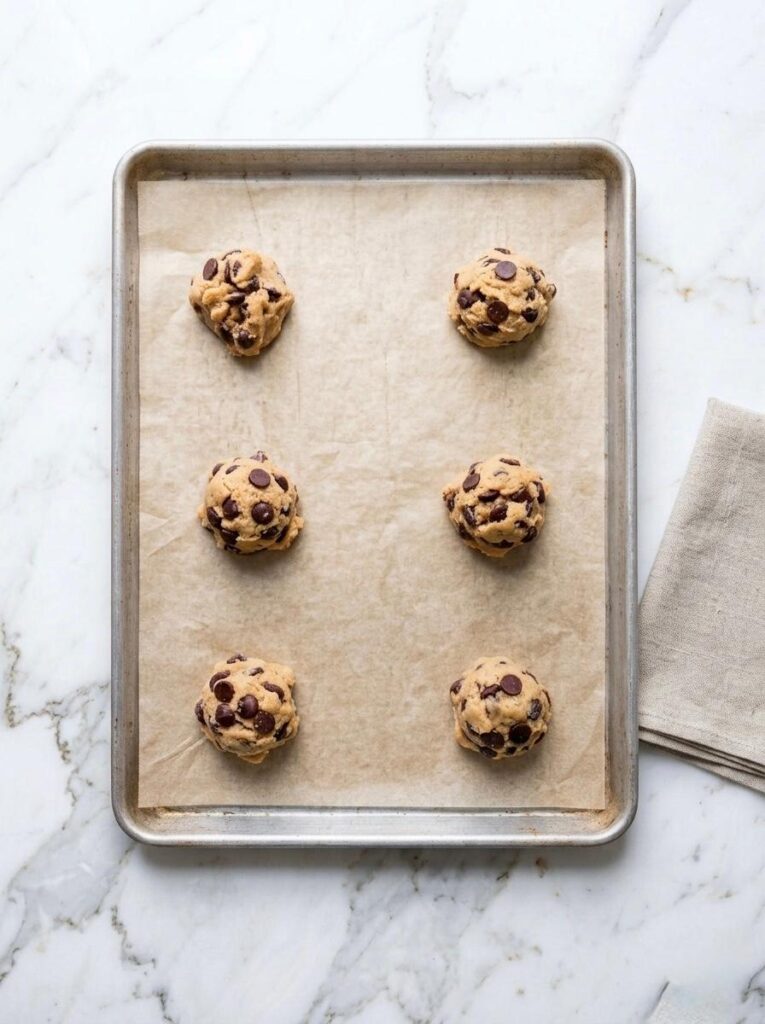
- Cover the dough and refrigerate for at least 1 hour. Preheat the oven to 350°F (175°C) and line baking sheets with parchment paper. Scoop about 2 tablespoons of dough for each cookie, spacing them about 2 inches apart.
- Bake for 10–12 minutes, until the edges are lightly golden while the centers still look slightly soft. If desired, sprinkle with flaky sea salt immediately after baking. Let the cookies cool on the baking sheet for 5 minutes before transferring them to a wire rack to cool completely.
Notes

- Browning the butter is the signature step in this recipe and gives the cookies their rich caramel and toasted hazelnut flavor.
- Chilling the dough improves both flavor and texture while helping the cookies bake thicker with less spreading.
- Chopped chocolate creates larger pools of melted chocolate, while chocolate chips hold their shape better. Either option works well.
- Store the baked cookies in an airtight container at room temperature for up to 4 days.
- The unbaked cookie dough can be frozen for up to 3 months. Bake directly from frozen, adding 1–2 minutes to the baking time.
- For the most consistent results, bake one sheet at a time on the center oven rack.
TIPS FOR THIS RECIPE
- BROWN THE BUTTER PATIENTLY
Brown butter is what gives these cookies their signature depth of flavor, so don’t rush this step. The butter will melt, foam, and then gradually begin to brown as the milk solids toast. Watch it closely during the final minute, since it can quickly go from perfectly nutty to burnt. A rich golden color and a warm caramel aroma are signs that it’s ready. - CHILL THE DOUGH
Although it may be tempting to bake the cookies immediately, chilling the dough makes a noticeable difference. During this time, the flour fully hydrates and the browned butter solidifies again, producing thicker cookies with less spreading. Even one hour of chilling improves both the texture and the overall flavor, while an overnight rest creates an even richer result. - DON’T OVERBAKE
One of the most common mistakes is leaving the cookies in the oven until they look completely done. For soft and chewy centers, remove them while the middle still appears slightly underbaked. The residual heat from the baking sheet will finish cooking the cookies as they cool, leaving them perfectly tender instead of dry. - USE HIGH-QUALITY CHOCOLATE
Chocolate is one of the stars of this recipe, so choosing good-quality chocolate makes a noticeable difference. Chocolate chips create distinct pockets throughout the cookies, while chopped chocolate melts into generous ribbons and puddles. Either works beautifully, but combining both creates the best balance of texture and appearance. - FINISH WITH FLAKY SEA SALT
A light sprinkle of flaky sea salt immediately after baking enhances the caramel notes of the browned butter while balancing the sweetness of the dough. It doesn’t make the cookies salty—instead, it intensifies the chocolate flavor and creates a more complex, bakery-style finish.
SERVING IDEAS FOR BROWN BUTTER CHOCOLATE CHIP COOKIES
- Serve the cookies slightly warm with a cold glass of milk for a timeless combination that highlights the gooey melted chocolate.
- Pair them with freshly brewed coffee or espresso.
- The slight bitterness of the coffee complements the nutty brown butter and rich chocolate beautifully.
- Turn them into ice cream sandwiches by filling two cookies with vanilla bean or coffee ice cream for an easy summer dessert.
- Arrange them on a holiday cookie tray alongside Chocolate Crinkle Cookies and Red Velvet Crinkle Cookies for an elegant assortment of homemade treats.
- Package a stack in parchment paper and baker’s twine for thoughtful homemade gifts during the holidays or special occasions.
- Crumble a warm cookie over vanilla ice cream and drizzle with chocolate sauce for a simple dessert that feels restaurant-worthy.
RECIPE QUESTIONS
- Why do I need to brown the butter?
Browning the butter develops toasted milk solids that create deep caramel and nutty flavors impossible to achieve with regular melted butter. Although it adds only a few extra minutes, it gives the cookies a noticeably richer flavor that makes them stand out from traditional chocolate chip cookies. - Can I skip chilling the dough?
You can, but the cookies will spread more and won’t develop the same thick, chewy texture. Chilling gives the flour time to hydrate and allows the butter to firm up again, resulting in cookies with better structure, richer flavor, and beautifully wrinkled tops. - Can I freeze the cookie dough?
Yes. Scoop the dough into individual portions and freeze them on a baking sheet before transferring them to a freezer-safe container. Bake directly from frozen, adding one or two extra minutes to the baking time. This makes it easy to enjoy freshly baked cookies whenever you like. - Why did my cookies spread too much?
Excess spreading is usually caused by warm dough, butter that wasn’t cooled enough after browning, or inaccurate flour measurements. Chilling the dough thoroughly and measuring the flour correctly both help produce thicker, bakery-style cookies with soft centers. - How should I store the baked cookies?
Store completely cooled cookies in an airtight container at room temperature for up to four days. If you’d like to restore their freshly baked texture, warm one in the microwave for about 10 seconds before serving.
DID YOU MAKE THIS RECIPE?
There’s something especially satisfying about baking a batch of cookies that fills your kitchen with the warm aroma of browned butter and chocolate. We hope these Brown Butter Chocolate Chip Cookies become one of those recipes you reach for whenever you’re baking for family, sharing with friends, or simply treating yourself to something homemade.
If you made this recipe, we’d love to hear how it turned out. Leave a star rating and share a review below to let other readers know about your experience. If you made any variations—such as using dark chocolate, adding chopped nuts, or sprinkling flaky sea salt on top—tell us what you tried and how you liked it.
If you share your cookies on social media, tag The Sofî Edit so we can see your beautiful creations. Your photos, tips, and feedback inspire our community and help other home bakers bake with confidence. And if this recipe earned a place in your regular baking rotation, don’t forget to save it for later and share it with someone who loves homemade cookies as much as you do.
Leave a Reply